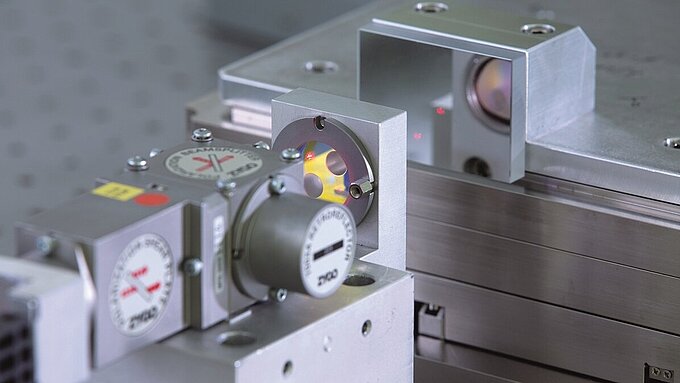
Positioning systems from PI promise the highest precision. The excellent measuring engineers and sophisticated measuring techniques at PI make sure that this verifiable and reproducible at all times. Special measuring laboratories allow measurement to picometer accuracy. The measuring equipment and measuring environment are matched exactly to the important measurands.
Precision Is Not Always Just Precision
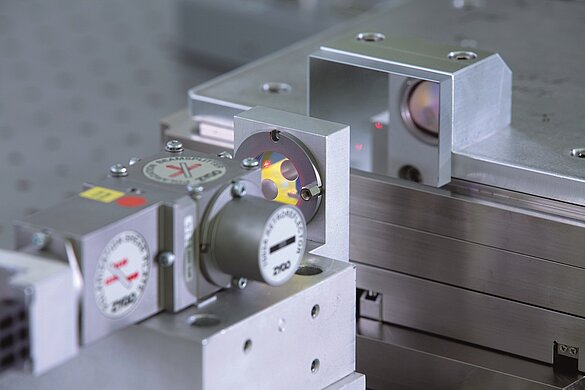
When we talk about precision at PI, we usually mean accuracy in the low micrometer to the nanometer range. Piezo systems sometimes even achieve resolutions of a few picometers. Of course, this means that the demands on the measuring environment are equally high. This is why PI has special nanometrology laboratories that have multiple seismic and acoustic decoupling so that vibrations from the outside are not recorded. This is reflected in the VC classification where up to VC-I can be reached. In addition, the laboratories are isolated thermally, which means that it is possible to maintain excellent temperature stability during the measuring procedure.
Complex Systems Are Supplied with an Informative Measurement Log
Complex positioning systems such as hexapods or piezo positioning systems are measured and qualified together with the respective controller. The measurement logs are included with the delivery and this makes it possible to reproduce the specifications at any time.
Process Reliability Thanks to Systematic Checks during Production
Today, quality assurance is a popular buzzword. The measuring engineers at PI take this very seriously: Each individual measurement and qualification of a positioning system is recorded. This ensures that each product complies with the stipulated specifications; otherwise, it is not dispatched to the customer.
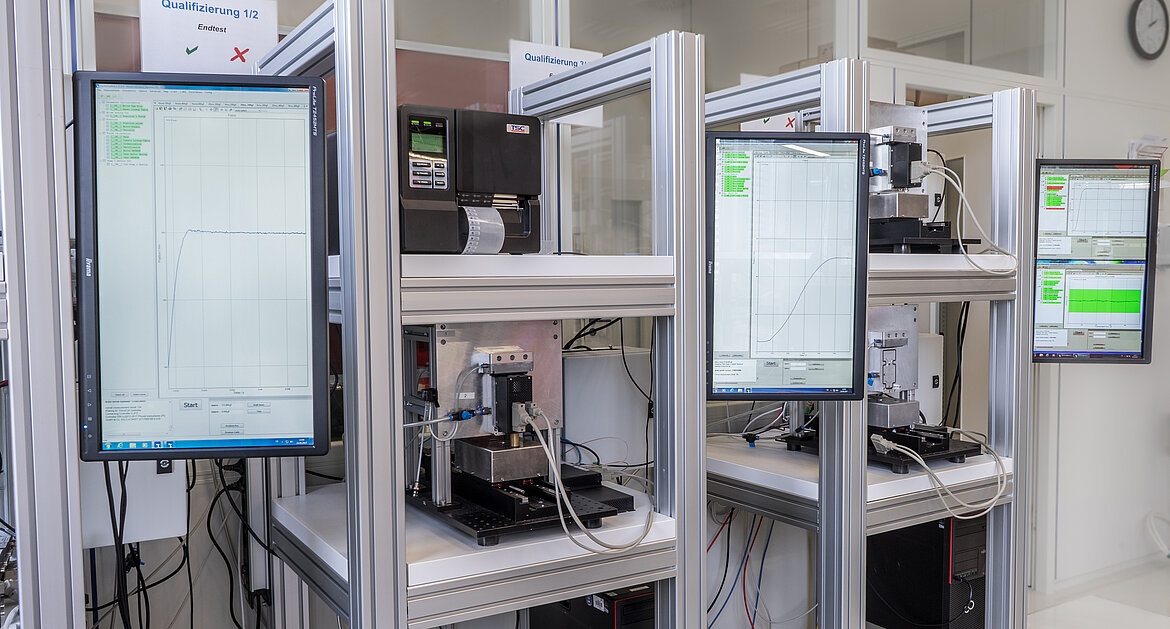
Stable measuring conditions are the requirement and both static process control and adapted software are vital for evaluation. Motion and positioning systems are measured semi- and fully automatically during series production. The measuring locations are validated accordingly and each individual measurement is saved to a database and evaluated.
Specially software developed by PI is used for evaluation, which has direct access to the measuring equipment. This makes it possible to avoid unnecessary interfaces and transfers that would otherwise be a particular source of error.
Special Measuring Equipment Supplies Results Under Operating Conditions
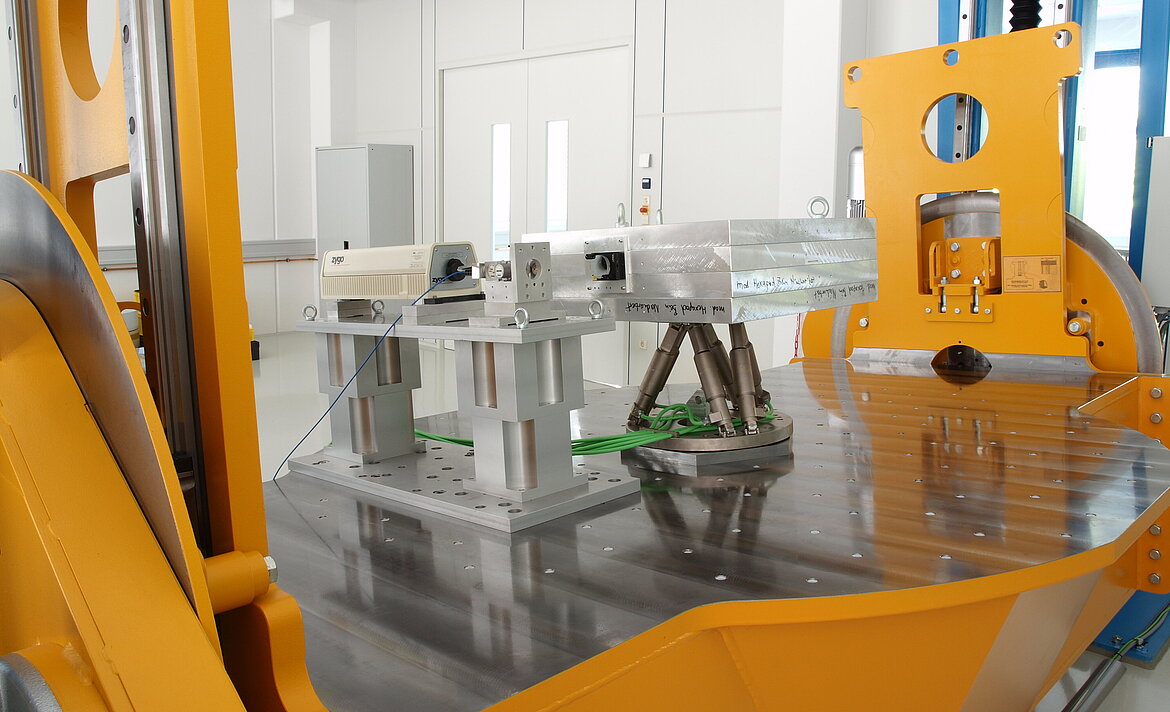
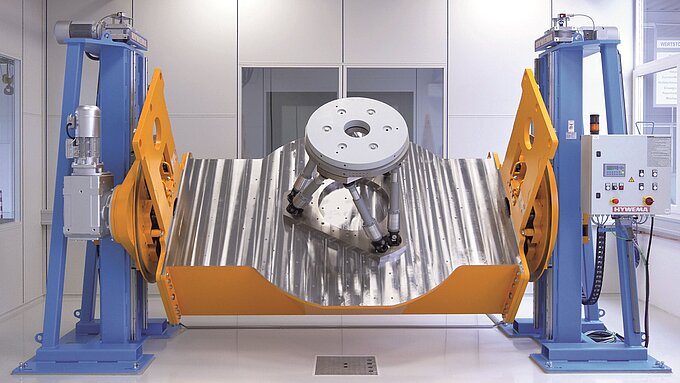
Measuring under real conditions, for example for high-load systems, is a specialty that is offered only by PI. The special lifting and tilting equipment is able to rotate loads up to 7 tons continuously around 360°.
This is how for example, high-load hexapods can be measured under real conditions, namely exactly with the load and in the orientation they would have when they are built into the customer application.
Cryogen environments and vacuums apply stringent criteria for the design of a positioning system. The same also applies for the qualification. Various chambers are available at PI where measuring can be done.
